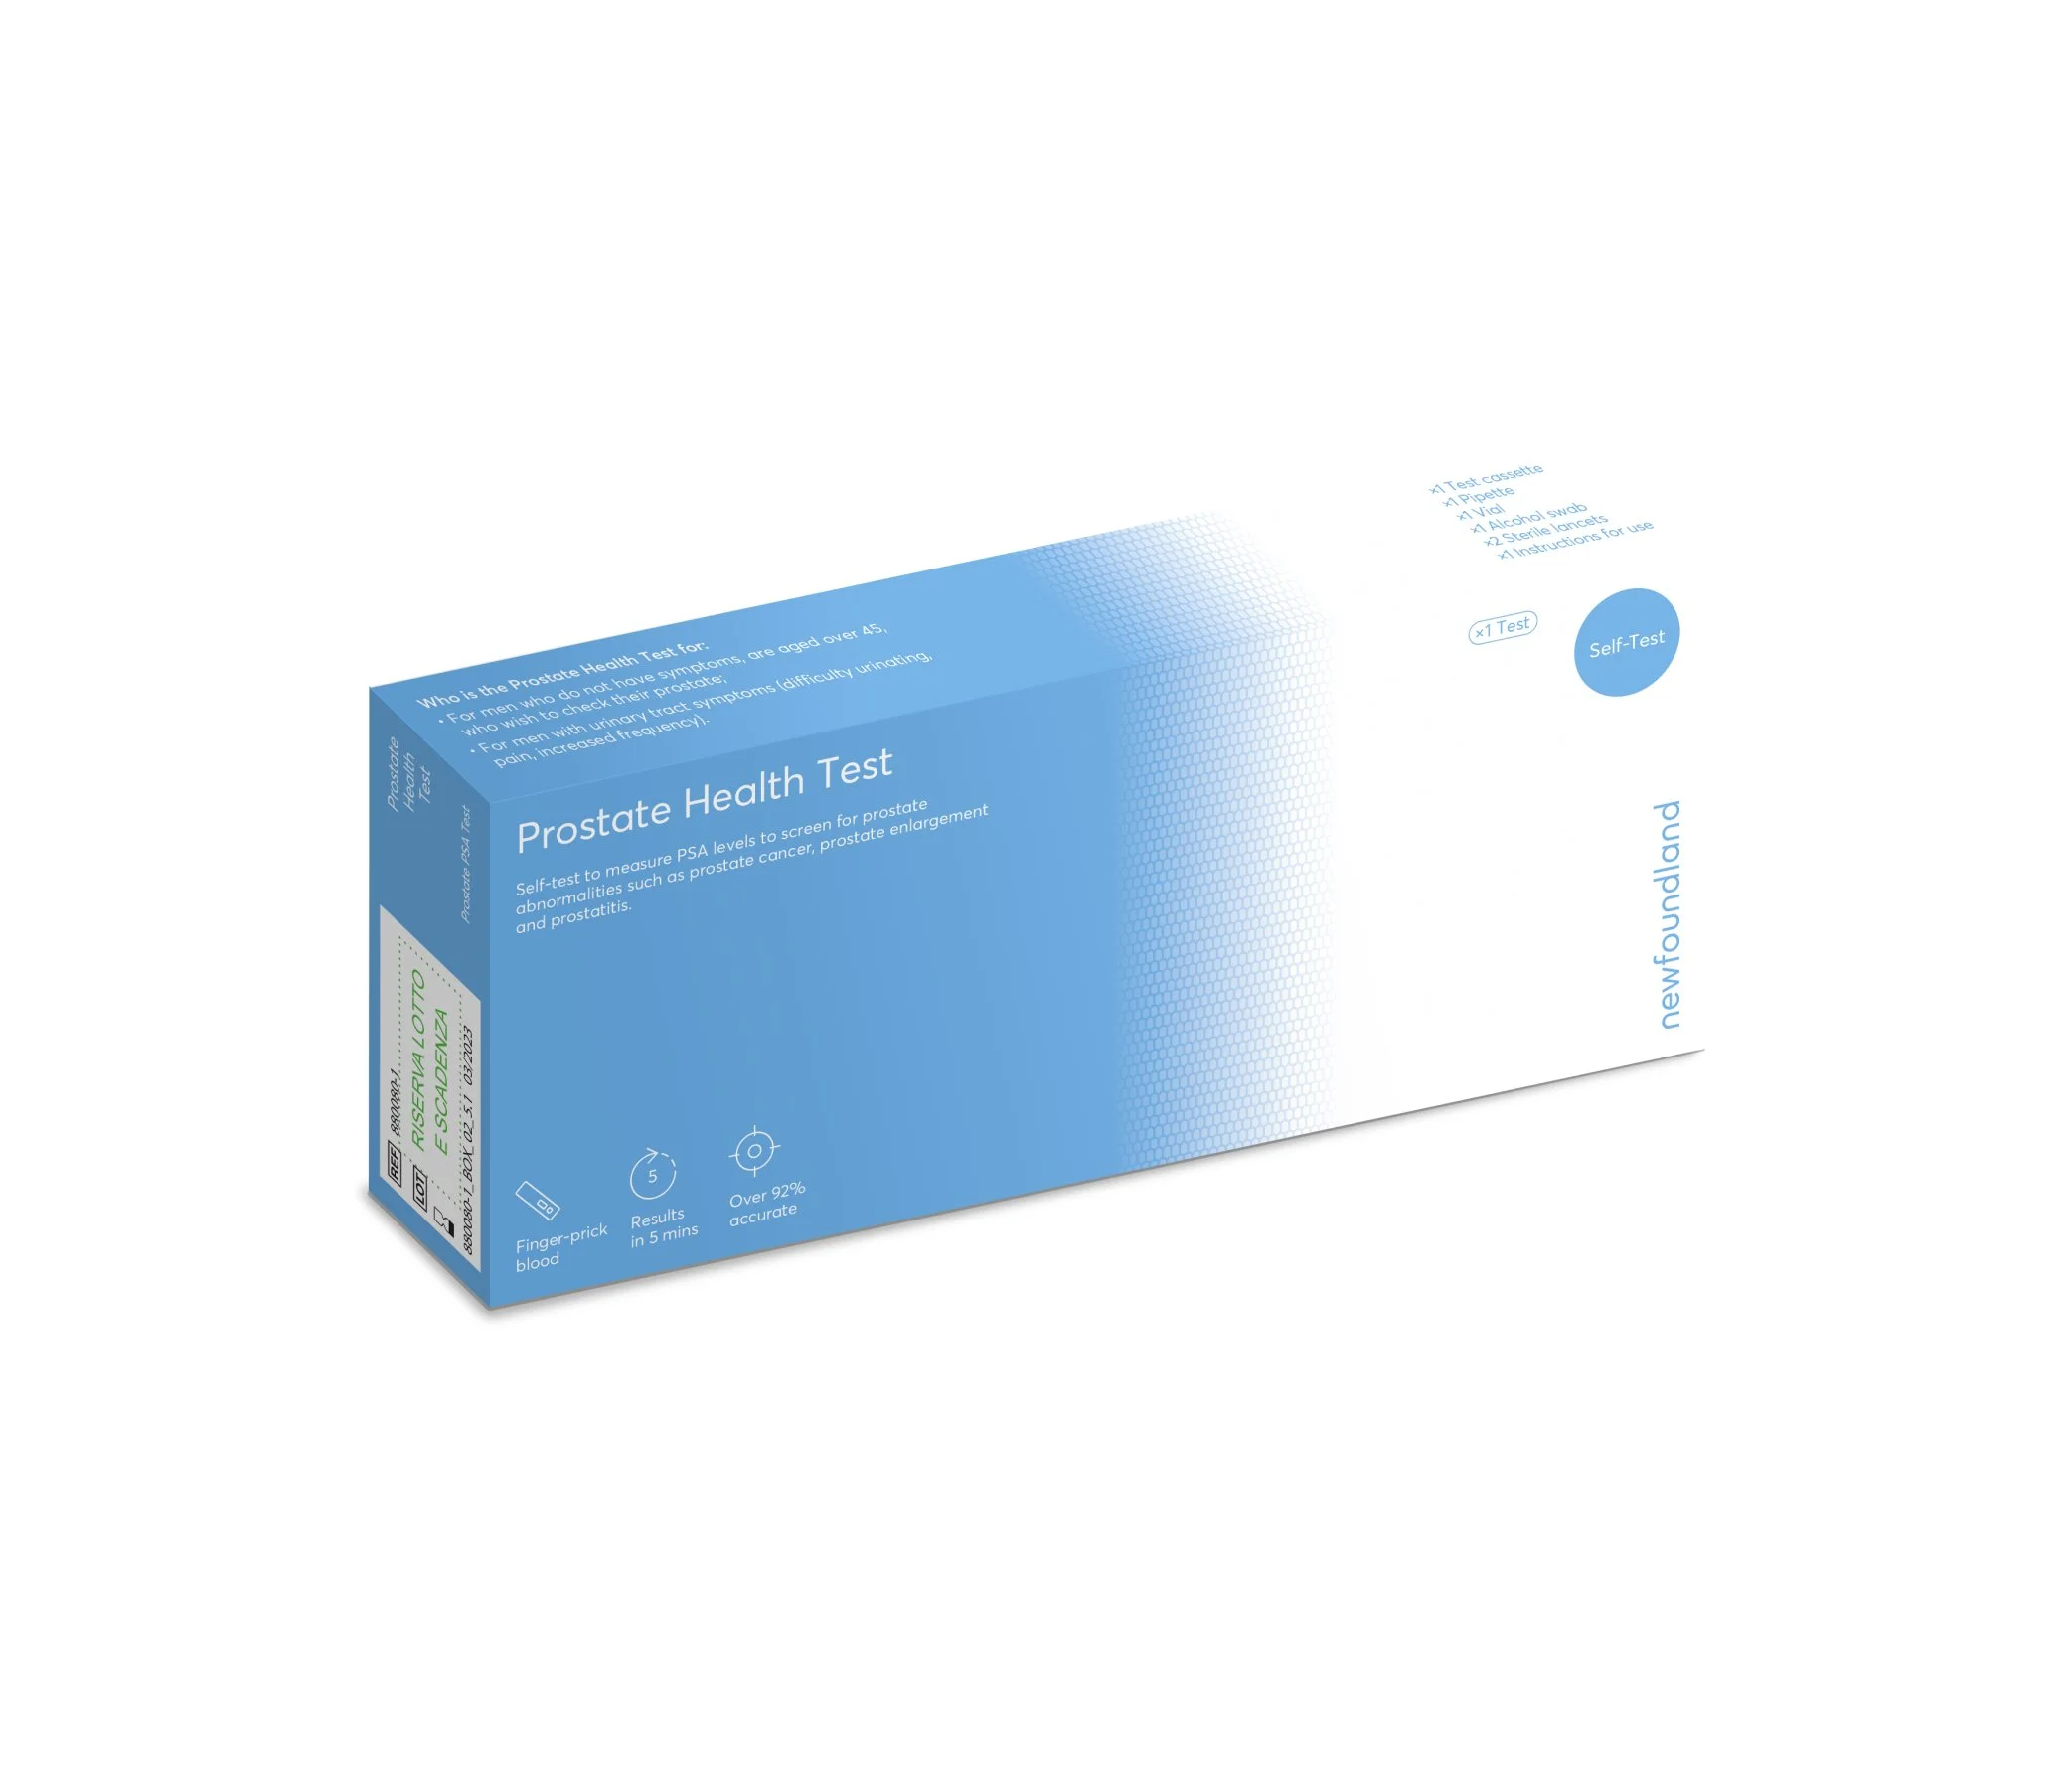
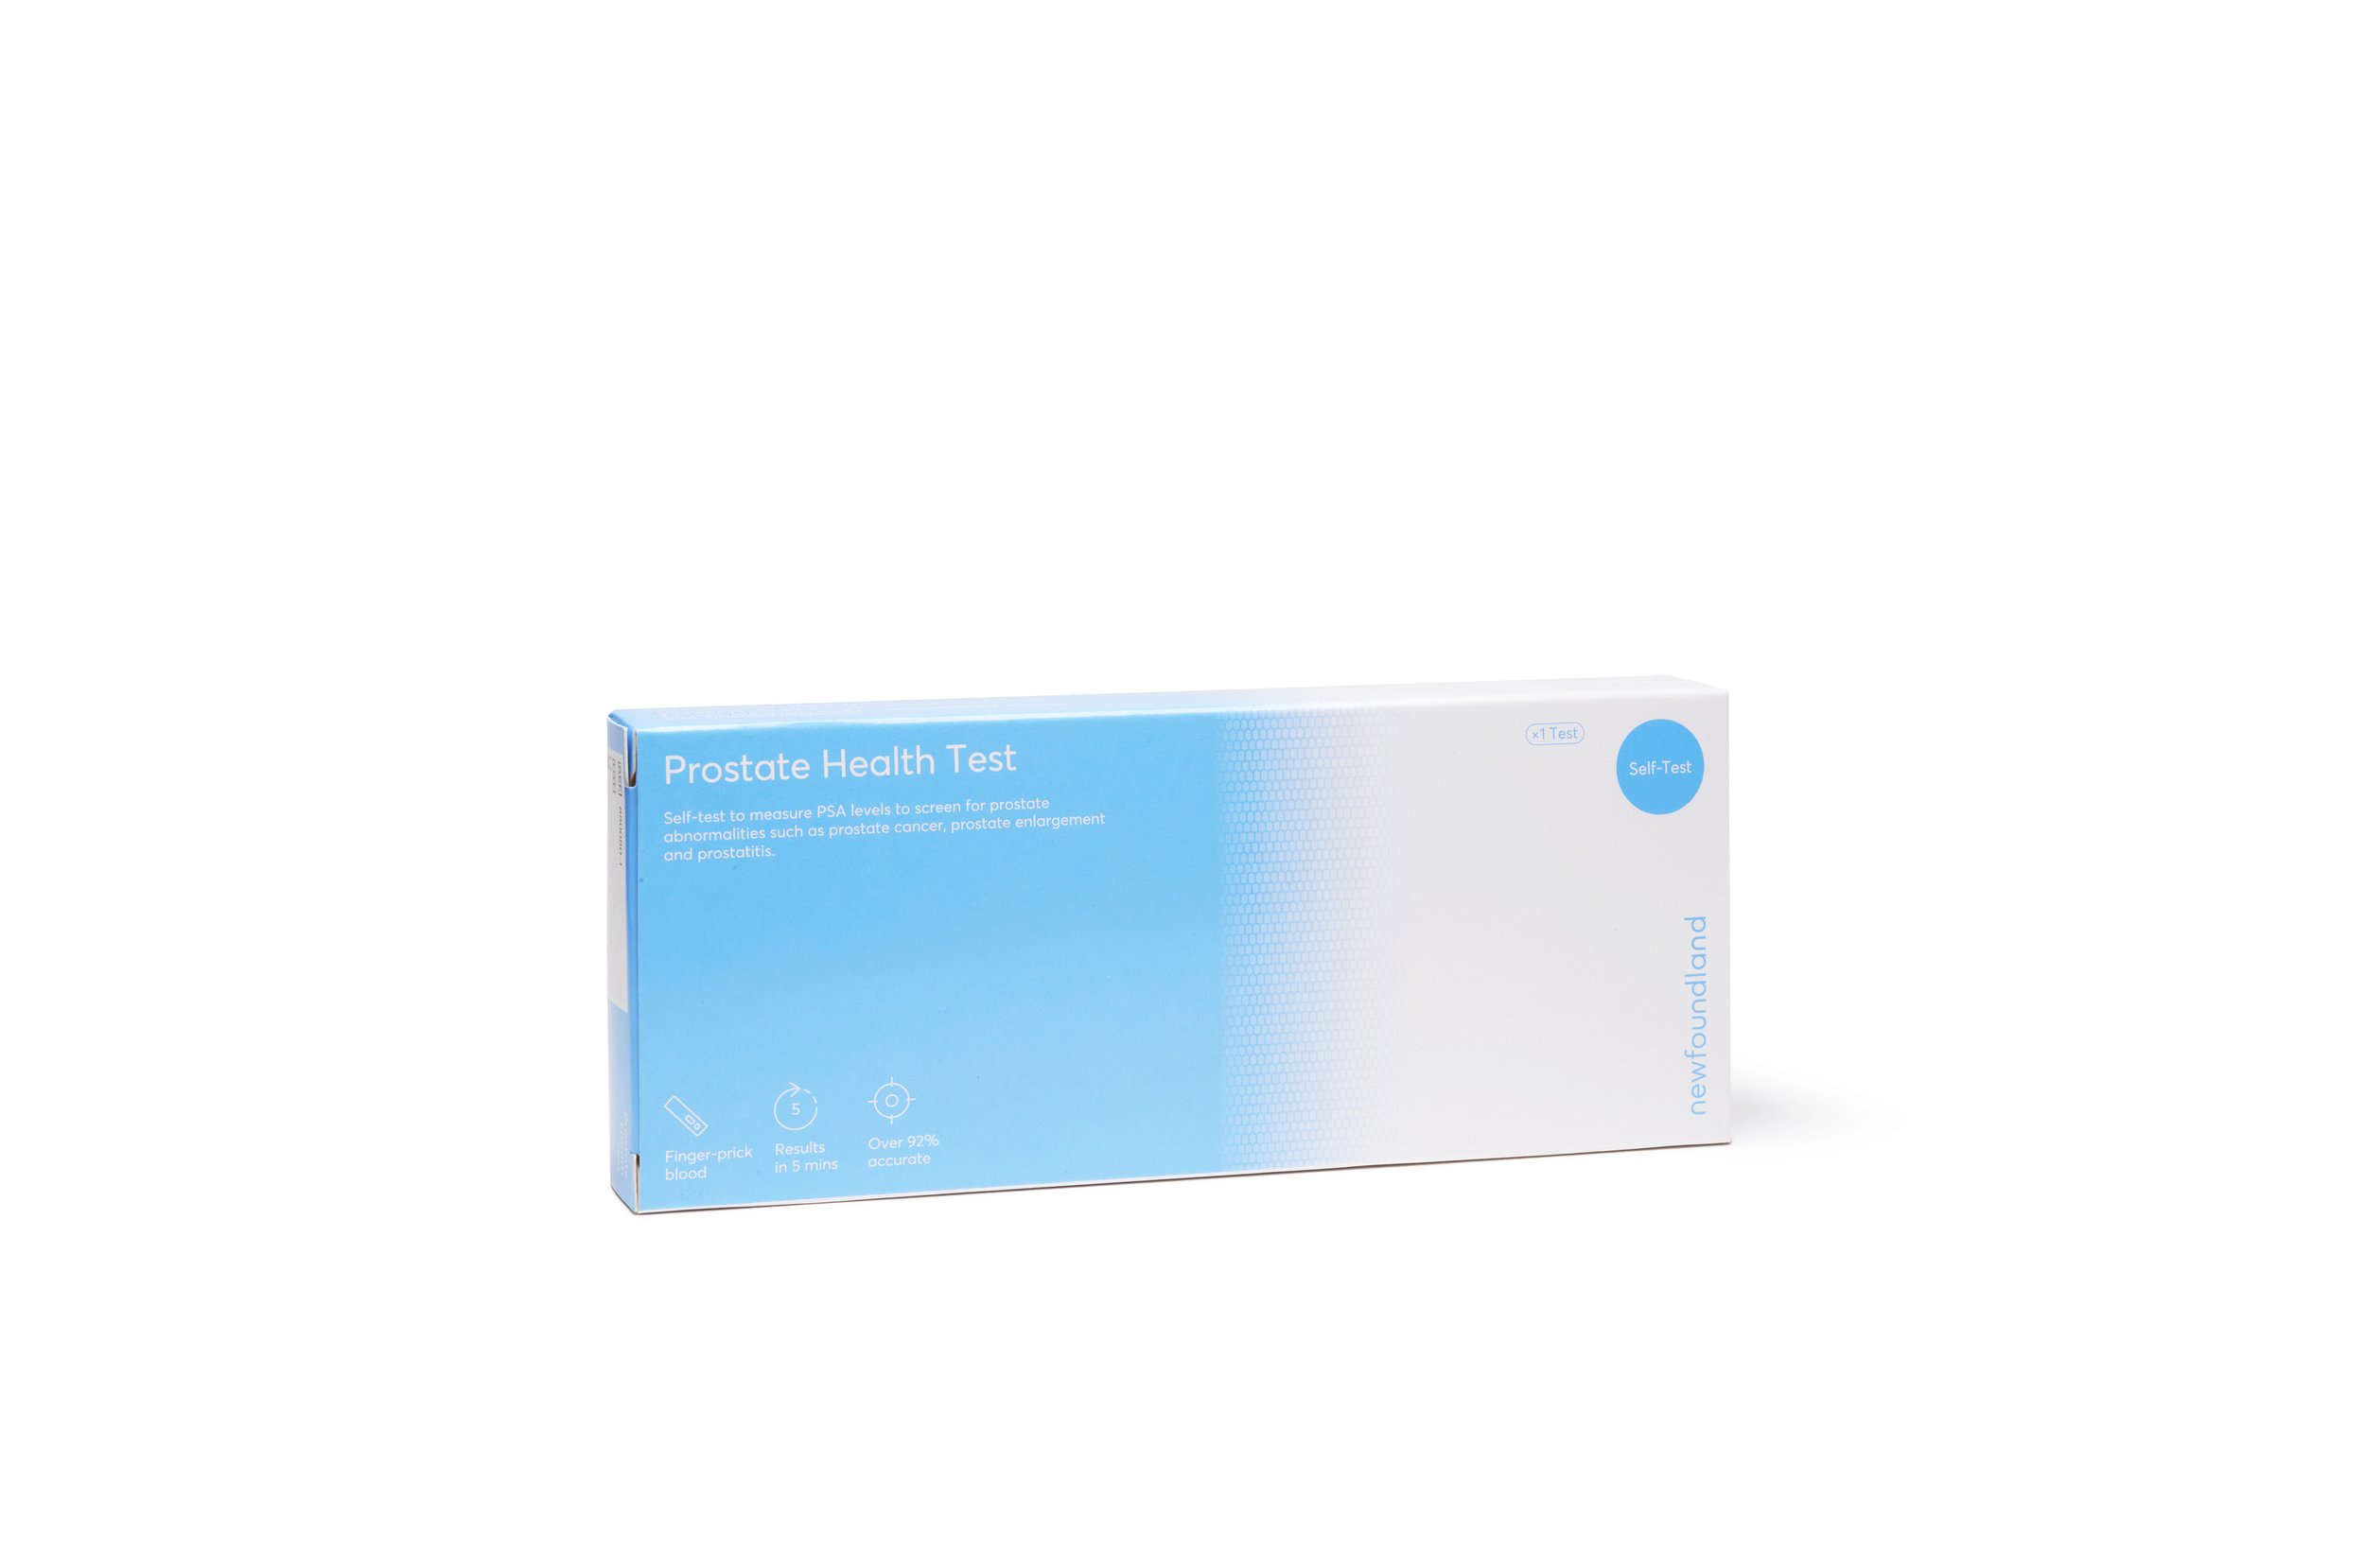
Prostate Health
A rapid test for the detection of prostate specific antigen (PSA) in whole blood / serum / plasma samples to help diagnose prostate cancer and prostate abnormalities.
Accuracy
98.6%
Certifications
CE Mark | MHRA
Specimen
Blood
Self-test
-
The Prostate health test is the most valuable tool available for the diagnosis of early prostate cancer. Many studies have confirmed that the presence of prostate specific antigen (PSA) is the most useful and meaningful tumour marker known for prostate cancer and prostate infection of benign prostatic hyperplasia (BPH).
The Prostate health test utilises a combination of colloidal gold conjugate and anti-PSA antibodies to selectively detect total PSA in whole blood, serum or plasma. The test has a cut-off value of 4ng/ml. The test’s membrane is pre-coated with PSA antibodies on the test line region. During testing, the specimen reacts with the particle coated with anti-PSA antibody. The mixture migrates upward on the membrane chromatographically by capillary action to react with anti-PSA antibodies on the membrane and generate a coloured line. To serve as a procedural control, a coloured line will always appear in the control line region (C) indicating that proper volume of specimen has been added and membrane wicking has occurred.
52,000 men are diagnosed with prostate cancer in the UK each year. It is the most common cancer among men in the UK.
-
Specimen collection & preparation
The Prostate health test can be performed using whole blood (from venipuncture or fingerstick), serum or plasma.
To collect fingerstick whole blood specimens:
1. Puncture the skin with a sterile lancet. Wipe away the first sign of blood.
2. Gently rub the hand from wrist to palm to finger to form a rounded drop of blood over the puncture site.
3. Add the fingerstick whole blood specimen to the test by using a capillary tube: Touch the end of the capillary tube to the blood until filled to approximately 80uL. Avoid air bubbles.
5. Place the bulb on to the top end of the capillary tube, then squeeze the bulb to dispense the whole blood to the specimen area of the test cassette.
6. Separate serum or plasma from blood as soon as possible to avoid hemolysis.
Testing should be performed immediately after the specimens have been collected.
Procedure
Allow the test, specimen, buffer and/or controls to reach room temperature (15-30°C) prior to testing.
1. Remove the test cassette from the sealed pouch and use within one hour.
2. Place the cassette on a clean and level surface.
Serum - hold the transfer tube vertically and transfer 1 drop of serum or plasma, or 2 drops of blood to the specimen well of test cassette. Then add 1 drop of buffer and start the timer.
Fingerstick whole blood - fill the capillary tube and transfer 2 drops of blood specimen to the specimen area of test cassette. Then add 1 drop of buffer and start the timer.
3. Wait for the coloured line to appear. Read the results 5 minutes after dispensing the specimen. Do not read the results after 10 minutes.
Note: if migration is not observed in the result window after 30 seconds, add one or two extra drops of buffer. It is suggested not to use the buffer, beyond 30 days after opening the vial.
-
Read the results 5 minutes after dispensing the specimen. Do not read the results after 10 minutes.
POSITIVE: Two distinct coloured lines appear. One coloured line should be in the control region (C) and another coloured line should be in the test region (T)*.
*NOTE: The intensity of the colour in the test line region (T) will vary depending on the concentration of PSA present in the specimen. Therefore, any shade of colour in the test region (T) should be considered positive.
NEGATIVE: One coloured line appears in the control region (C). No apparent coloured line appears in the test region (T).
INVALID: Control line fails to appear. Insufficient specimen volume or incorrect procedural techniques are the most likely reasons for control line failure. Review the procedure and repeat the test with a new test cassette. If the problem persists, discontinue using the test kit immediately and contact your local distributor.


